
Setting up a Raspberry pi
A step by step guide to setting up raspberry pi
This blog includes a step-by-step guide to installing and starting a raspberry pi. We will see how to assemble a raspberry pi kit, connect various cables and install raspberry pi OS.
🙏🏻 I received this raspberry pi kit from team tenable after a small quiz. A huge thanks to Tenable.
Components used:
Micro SD card
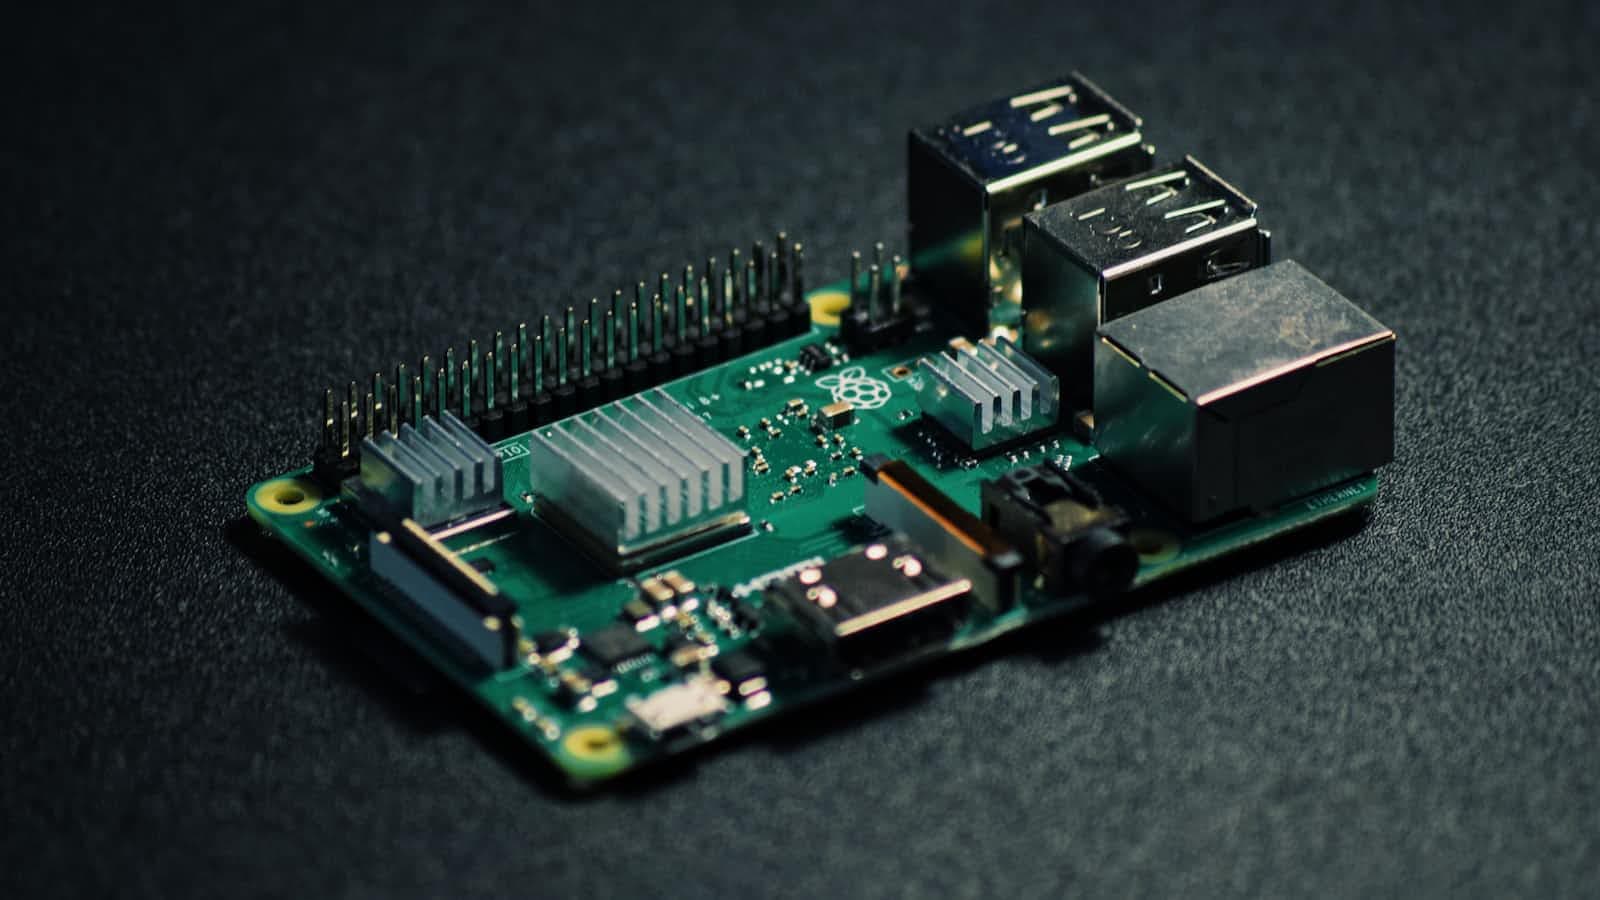
Raspberry pi 4 8 GB
3A USB-C power adapter
USB Micro SD card reader
Micro HDMI cable
Monitor, Keyboard and Mouse
Case to hold/protect the Raspberry pi [Optional]
Cooling Fan [Optional]

Let’s get started..!!
Assembling the kit
The first step to getting started with this process is to know and assemble the kit we have. It’s really easy to do so.
While assembling we need to start with raspberry pi module clipping it on the base of the case. Then put the middle portion of the case carefully.
Then attaching the cooling fan to the top cover. After that, we need to attach the cooling fan cable to the the pins for power supply and attach the top cover on the kit now.

While connecting pins we can refer the below images.

As our hardware assembling is done we can now proceed for installing OS and connecting the cables.
Installing Raspberry OS
To get started with the OS installation we can install the raspberry pi imager on our personal computer.
Step 1: Open Raspberry Pi Imager

Step 2: Click on Choose OS & select the required OS

Step 3: Select Choose storage

Step 4: Click on write

Step 5: Click on Yes

Step 6: OS will be written to the SD card now.

Step 6: Click continue. Remove the SD card from PC.

Step 7: Insert into the raspberry pi.

Step 8: Now connect all the cables to raspberry pi. (HDMI, Power supply, Mouse and Keyboard)

Now raspberry pi should boot. Like any other OS, it will ask to select the keyboard layout, Language and Country from which it is going to be used.
Once that is done it will ask to set up the wi-fi which is optional if the internet connection is going to be provided by an ethernet cable.
Next, it will ask for the updates which can be ignored and can be updated using the below commands.
sudo apt-get update
sudo apt-get upgrade -y
After proceeding further we are all set with the raspberry pi. Congratulations!!

Now one would like to install open-ssh on the host so that it would be easier to connect to the host from any other personal computer.
sudo apt-get install openssh-server
sudo systemctl enable ssh
sudo systemctl start ssh
Also, we can set up the RDP on the raspberry pi using the below commands
sudo apt-get install xrdp
sudo systemctl enable xrdp
sudo systemctl start xrdp
Thanks for reading till the end. Please let me know for any feedback.